Installation
Veritas NetBackup Monitoring
In case of usage of Virtual Appliance- Use local account lpar2rrd for hosting of STOR2RRD on the virtual appliance
- Use /home/stor2rrd/stor2rrd as the product home
Supported is Veritas NetBackup firmware 8.2+ and 9.0+
Storage connectivity
-
Allow access from the STOR2RRD host to the Veritas NetBackup Master server, by default Veritas NetBackup accepts HTTP/HTTPS requests on port 1556
$ perl /home/stor2rrd/stor2rrd/bin/conntest.pl 192.168.1.1 1556
  Connection to "192.168.1.1" on port "1556" is ok
Create a storage user
There are more ways to configure user for STOR2RRD depending on Veritas NetBackup server deployment type (standalone server, virtual appliance), OS (Windows, Linux), version (8.x, 9.0) and authentication authority (Active Directory, local user, Veritas user). Here are two ways to create a user: NBA 9.0 RBAC on Windows server and a general procedure taken from Veritas Knowledge base. (Please consult user creation steps with Veritas NetBackup support if in doubt.) Veritas NetBackup 9.0, Role Based Access, Windows standalone server with local user, Web Management Console:- Log into your Veritas NetBackup Master server and create a new user for STOR2RRD.
- Log into Veritas NetBackup Web Managemet Console as administrator.
- Security ➡ RBAC ➡ Roles ➡ +Add ( select Custom role )
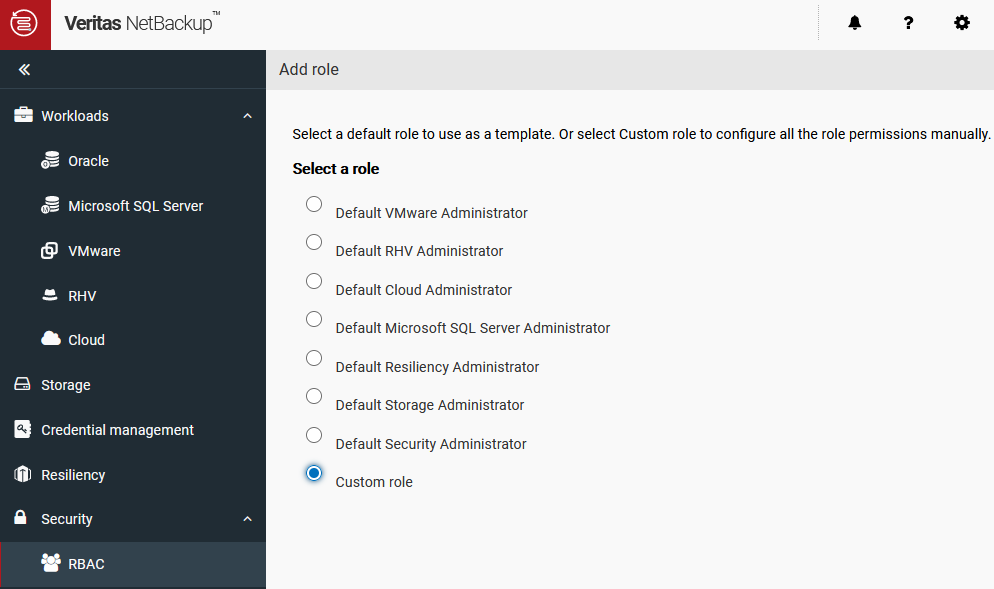
- After filling Role name and description go to Permissions categorie
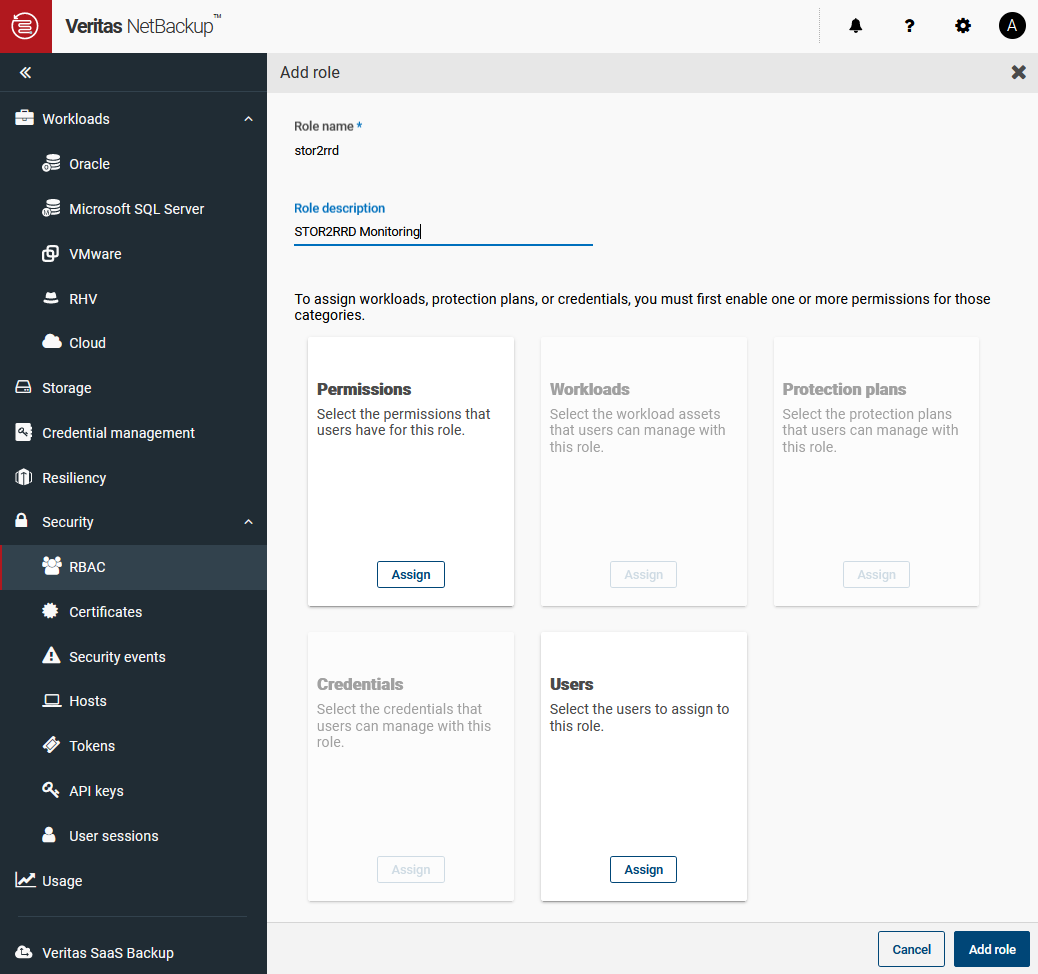
- Assign 'View' permission for the following Global categories and objects:
- Veritas NetBackup Management:
- Event log messages
- Event log notifications
- NetBackup hosts
- Host properties
- NetBackup backup images
- Jobs
- Media server
- Resource limits Trusted master servers
- Protection
- Policies
- Storage lifecycle policies
- Storage
- Cloud storge
- Disk pools
- Storage servers
- Disk Volumes
- Storage units
- Tape media server groups
- Tape media volume pools
- Replication-capable target storage servers
- Veritas NetBackup Management:
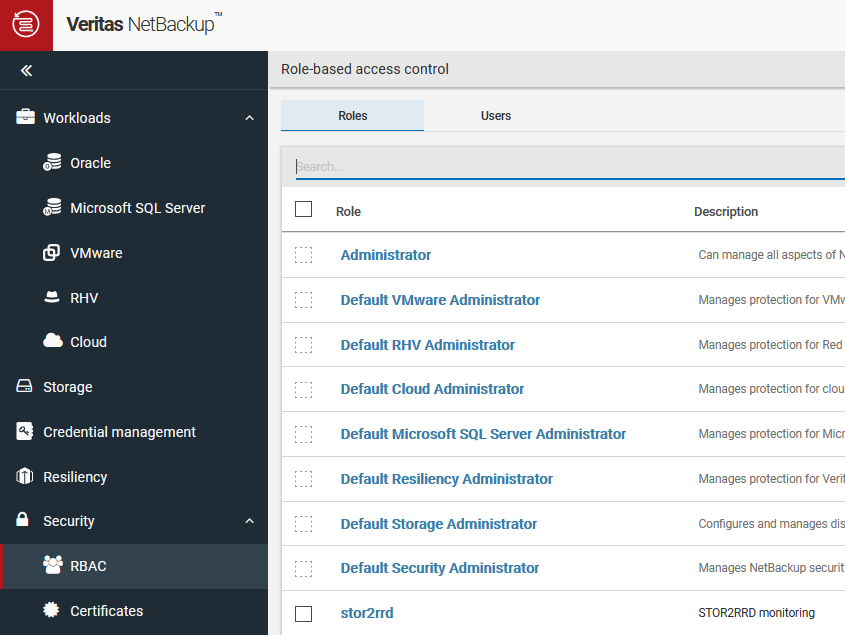
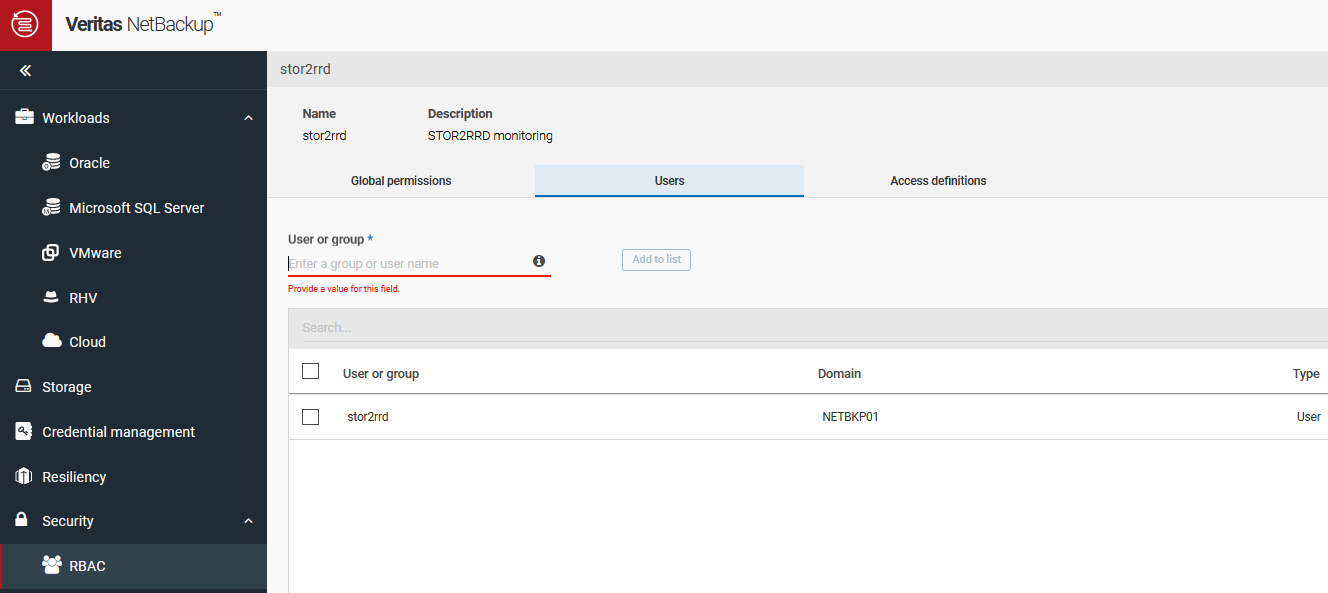
- Assign the user created in the first step to the new role.
Original article: 100042908
- Add VxSS user to the Veritas NetBackup master server in order to perform user/password authentication when using the Veritas NetBackup API
bpnbat command:
bpnbat -AddUser <user> <password> <domain>
The user, password and domain can be any value and do not have any relation to GUI or other login credentials. Make note of the values as they will be needed later.
(VxSS user name and domain name must not confict with other user or domain names used in the environment!)
Example:
bpnbat -AddUser stor2rrd Secret1234 stor2rrd
- Enable enhanced auditing with the following command:
bpnbaz -SetupExAudit
- Give the new VxSS user administrator privileges
bpnbaz -AddUser <domain type>:<domain name>:<user>
Example:
bpnbaz -AddUser vx:stor2rrd:stor2rrd
- It may be necessary to restart netBackup services.
STOR2RRD storage configuration
- All actions below under stor2rrd user (lpar2rrd on Virtual Appliance)
-
Add storage into configuration from the UI:
Settings icon ➡ Storage ➡ New ➡ Vendor:device ➡ Veritas:NetBackup
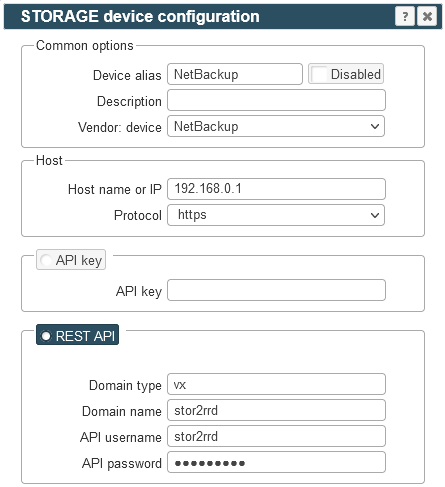
Domain type: vx (Veritas private database), NT (Windows workgroup), ldap (Active Directory), unixpwd (UNIX password file)
- Schedule to run storage agent from stor2rrd crontab (lpar2rrd on Virtual Appliance, it might already exist there)
Add if it does not exist as above
$ crontab -l | grep load_netbackupperf.sh
$
Assure there is already an entry with the UI creation running once an hour in crontab$ crontab -e # Veritas NetBackup 0,5,10,15,20,25,30,35,40,45,50,55 * * * * /home/stor2rrd/stor2rrd/load_netbackupperf.sh > /home/stor2rrd/stor2rrd/load_netbackupperf.out 2>&1
$ crontab -e

# STOR2RRD UI (just ONE entry of load.sh must be there)
5 * * * * /home/stor2rrd/stor2rrd/load.sh > /home/stor2rrd/stor2rrd/load.out 2>&1
-
Let run the storage agent for 15 - 20 minutes to get data, then:
$ cd /home/stor2rrd/stor2rrd
$ ./load.sh
- Go to the web UI: http://<your web server>/stor2rrd/
Use Ctrl-F5 to refresh the web browser cache.